Products:
- Kryolan foundation palette
- Illamasqua skin base white
- Viva eyeshadow
- Red eyeliner pencil
- M.A.C eyebrow pencil - lingering
- Fresh scratch blood
- Brushes
- Black Thread
- Collodion
- Kiko red eyeshadow
- Wig
- Hair brush
- Sectioning clips
- Hair band
- Kirby grips
Steps: Makeup:
1) Mix the foundation palette (Alabaster & FS38) with skin base white so the makeup appears slightly more paler than the face.
2) Pencil on eyebrows to fill them and shape/define them.
3) Using the viva palette, mix purples/reds/blues/greens/yellows to make bruises on the forehead and the cheek.
4) Apply brown under the eye to create bags using a red eyeliner, pencil along the waterline and blend to create redness.
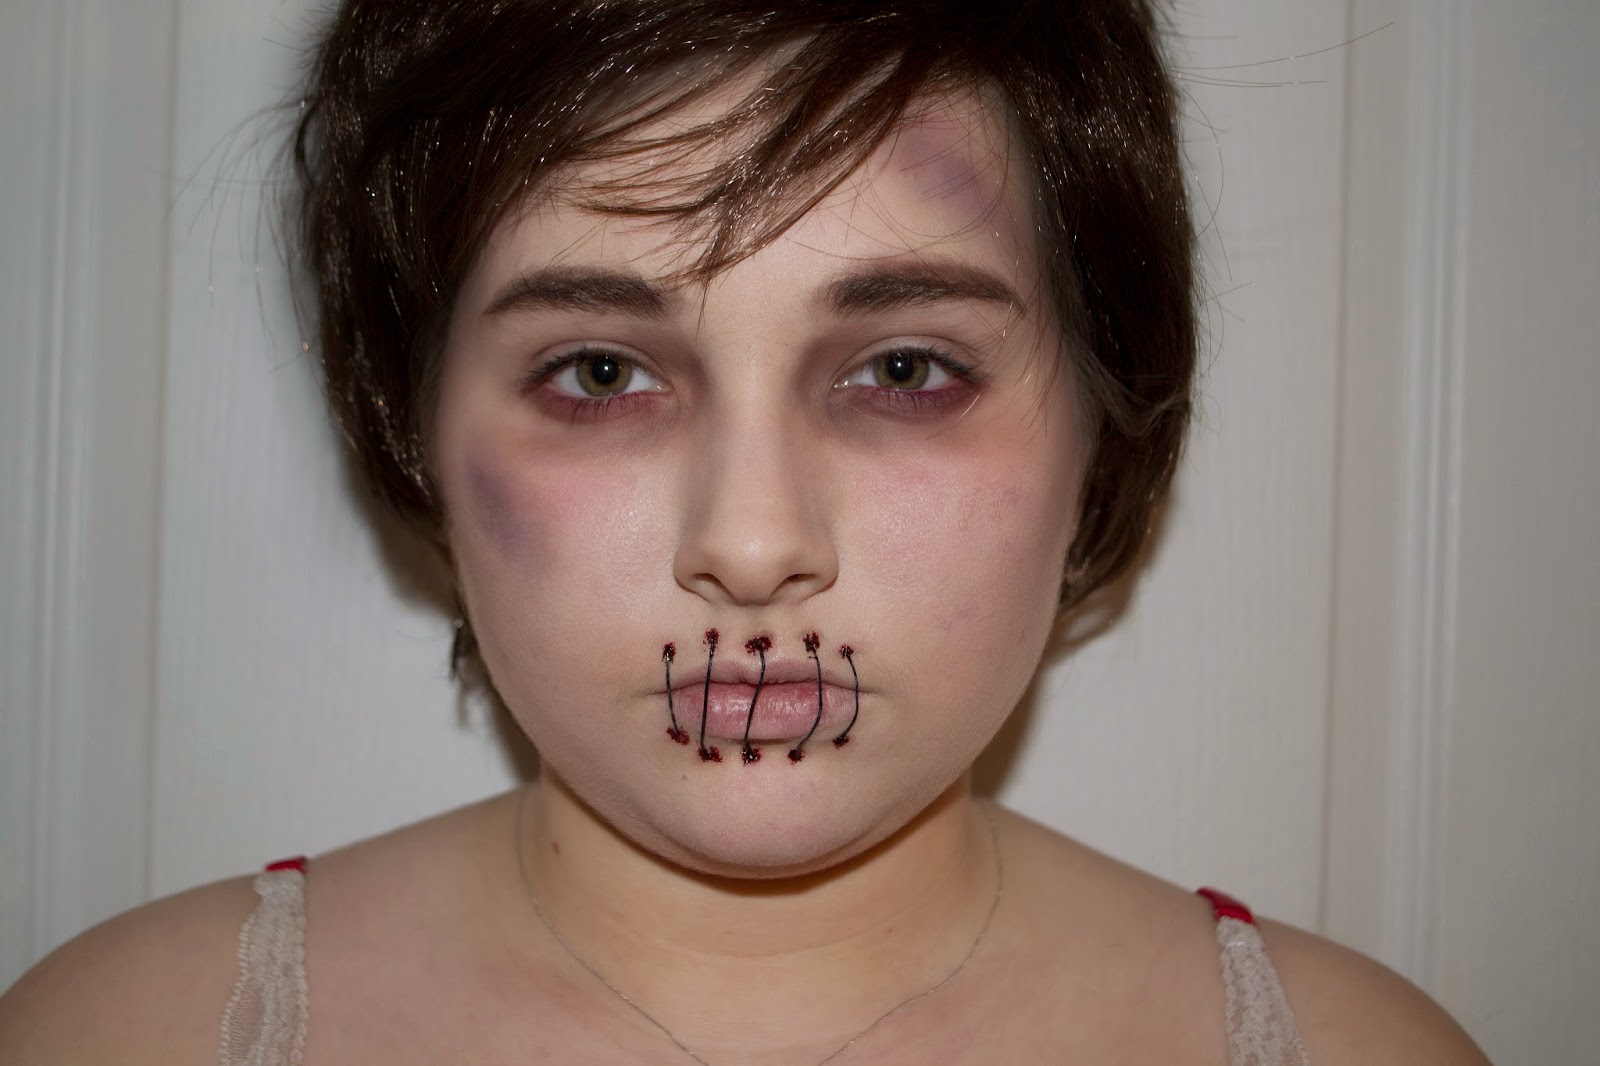
5) Apply collodion around the mouth (top and bottom) using the thread, cut down to size to fit over the mouth. Press and leave to dry. Repeat until the whole mouth is covered.
6) Once dry, apply the scratch blood over the top to create a blood effect.
Steps: Hair:
1) Pull hair back into a tight ponytail, quite low down.
2) Clip fly-away bits of hair back, especially the fringe, hair by the ears, and the back of the neck.
3) Apply the wig so it fits securely.
Final Design
Practice
The first photo is the original one I have taken. The hair looks too wig-like in the flash so I have edited it in photoshop to make it appear darker and to dull out the shine. I am really pleased with how it has turned out, he looks beaten up and sad about it.
I think these lips actually look quite realistic. I am very happy with how they turned out, they look much better being a thicker thread.
These are the other images before Photoshop, again I am very happy with the way they look. Now I have had a practice, I feel much more comfortable with doing the final shoot. I will be shooting in the studio, mainly because I want the makeup to be clearly seen.


No comments:
Post a Comment